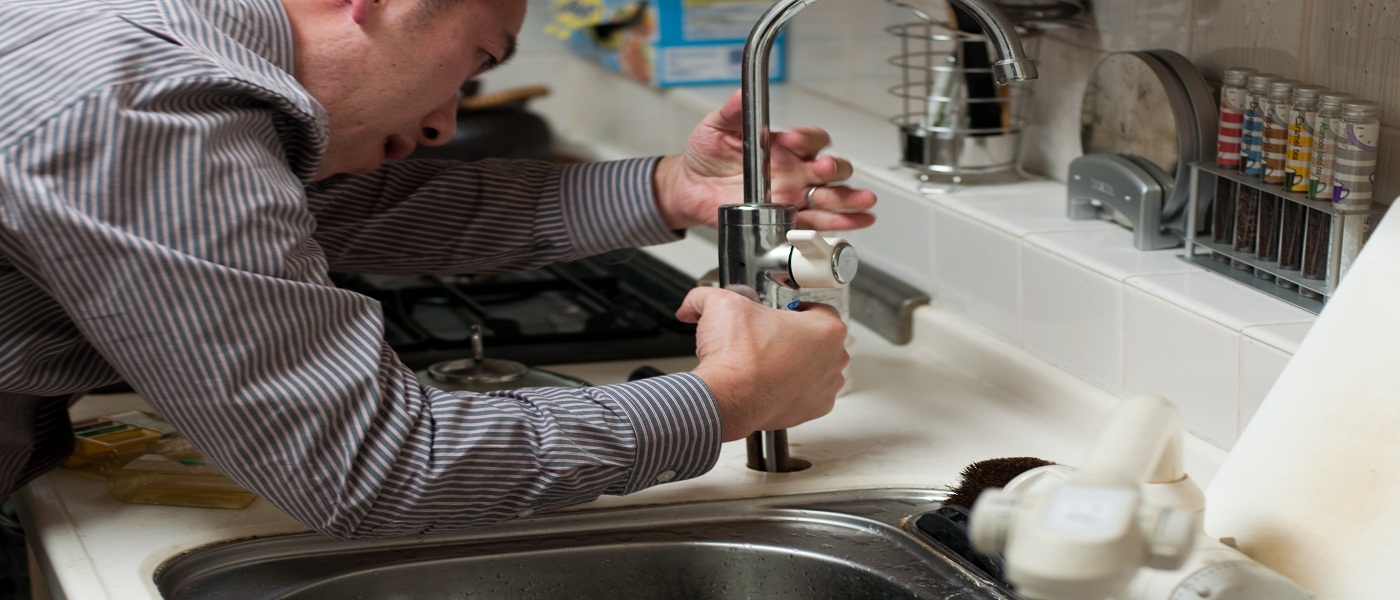
Garbage disposable is home equipment that makes it easier to dispose of different types of waste separately. However, most garbage disposal wears out over time and needs replacement after a decade. Generally, when we need to replace a garbage disposal the first thing that comes to mind is to call a plumber Carlsbad . But did you know you can also DIY the replacement procedure by following a few tips? In this article, we have shared a short guide to replacing garbage disposal at home.
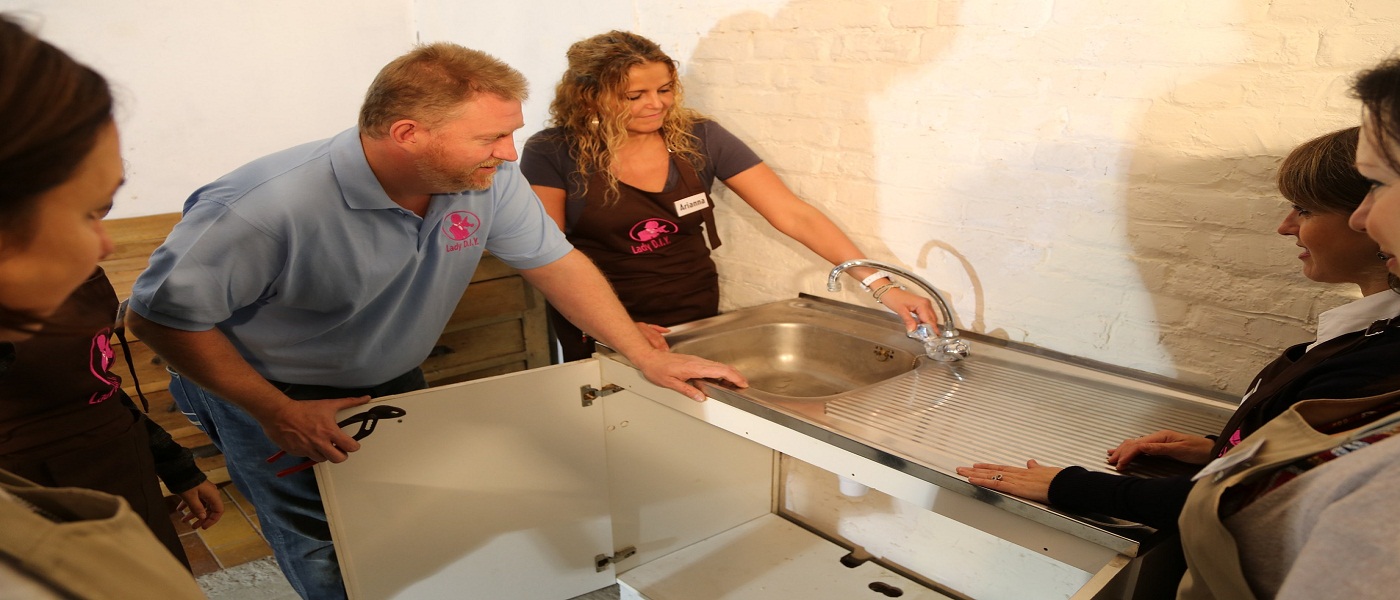
Steps To Replace A Garbage Disposal
You do not need to worry if your garbage disposal has stopped working. To start with you need to switch off the main power which is connected to your disposal box. This will ensure safety while working. Now, there is a mounting ring which is located beneath the sink drain. You need to detach the ring to remove the older unit. Next, you need to install the new disposal.
Just Follow These Steps Below And You Are All Good To Go:
Step 1: Remove The Old Unit
After switching off the main switch which is connected to the disposal box you need to identify the garbage box. The large cylindrical box at the bottom of the drain is the garbage disposal. Take note of the model number as it is always recommended by every expert Carlsbad plumber to replace it with a similar model.
1. Disconnecting the discharge pipe – For this, you need to loosen up the nuts and disconnect the tube which is located at the side of the main body.
2. Detach the mountain ring from the disposal box – The mountain ring is located at the top of the disposable unit and has three protruding arms. Just twist it to detach the ring by using both your hands. Set it aside and immediately catch hold of the unit after dismantling it as garbage units are pretty heavy and it may fall on the ground.
3. Disposal needs to be separated from the power supply – For this look for a square or round faceplate beneath the side. You need to unscrew it & slip copper ground wire above the green-colored screw. Now by pinching the connectors you will have to disconnect each of the colored wires.
Step 2: Installing New Disposal Unit
Once the older unit is dismantled and all the connecting power supplies are switched off and disconnected, the next step is installing the new one.
1. Secure the mountain ring with the new unit – First position the new unit by lifting it at the right place. Twist to begin it thread down in the grooves. Now you need to use a screwdriver insert it in one of the lugs & in a clockwise direction rotate the ring until the disposal lock is placed in the correct position.
2. Connect the colored electrical wires – Now you need to match all the colored pipes with the colored plugins of the disposable unit’s housing & connect them by using plastic nuts.
3. Reconnect discharge tube – Trim the discharge tube and reconnect it inside the valve that is located at the side of the unit.
Conclusion
Once the new unit is installed you need to run the water to check whether there are any leaks or not. Also, switch it on and off to check whether the new plumbing unit is working or not. If still there is any issue, you can simply search plumber near me on any search engine and get the issue fixed by hiring a professional near your location.
…